If your project status says "Project Planning," then click on the ellipsis icon (...) at the top right and select Request Bids or Switch to Bid from the drop-down menu. Otherwise, skip to the next step.
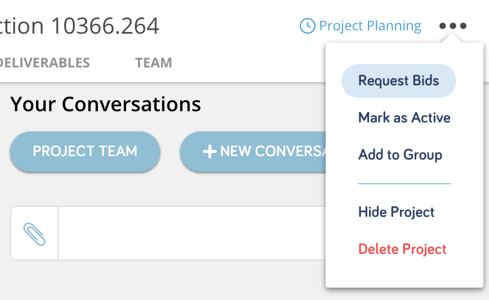
You will notice that the project status has now changed to RFP Build, which stands for Request For Proposal, and a new RFP navigational tab has appeared.
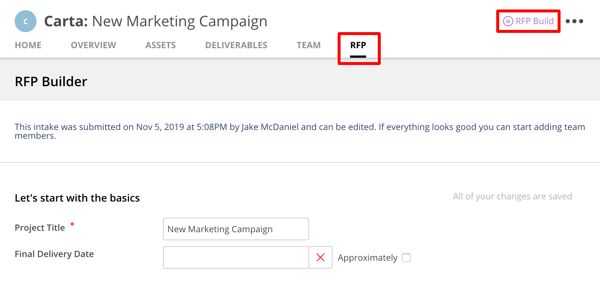
When accessing the RFP tab, you will notice that it contains some of the same information that was filled out to begin the project, however, this information will be auto-populated with your previous entries. Fields marked with a red dot are required and must be filled in. When you scroll past the reference examples section, you are provided with some new fields to complete.
For example, there is a Notes for Vendors section where you can provide useful information for the vendor that might fit outside of the conventional intake fields, such as announcing that this specific project has a tight turnaround and to please respond ASAP.

Next, select your desired budget format from the Proposal Type drop-down menu.
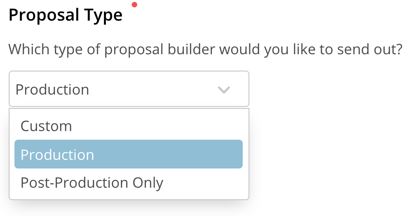
After selecting the correct Proposal Type, you will want to set a Response Deadline indicating when all bids must be submitted. While doing this, feel free to leave any Submission Guidelines you would like the vendor to adhere to.

Now that all the necessary information for your vendors is input and uploaded, it’s time to invite them to bid on your project.
If you have a list of preferred vendors that have been added to Octerra, you can easily search for them in the Add Vendor Candidates section.

If you have a vendor that is not on Octerra, and you would like them to bid on this project, click Invite a new vendor to Octerra and fill out all the required information.


Also, you can click Browse Vendors and sort through all the vendors on your list of preferred vendors.

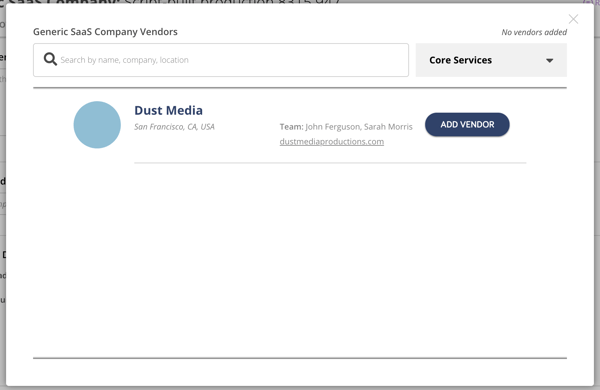
If you do not see the contact or user that you would like to invite to bid, but you do see the intended vendor company, simply click the Edit Recipients button after you have added that vendor as a candidate and invite the new user to join that vendor company.
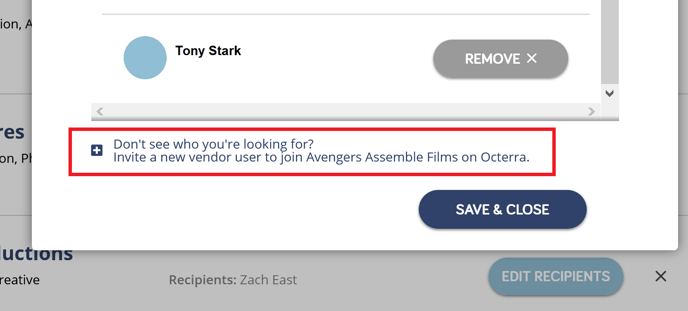 Couple things to note when inviting new users to join an existing vendor:
 - You are actually sending a request to the existing users at that vendor to approve the new user's invitation to join.
- Your invite will be sent when someone at the vendor company approves your request.
Now to kick off the project and notify your invited vendors, click the Submit button.
